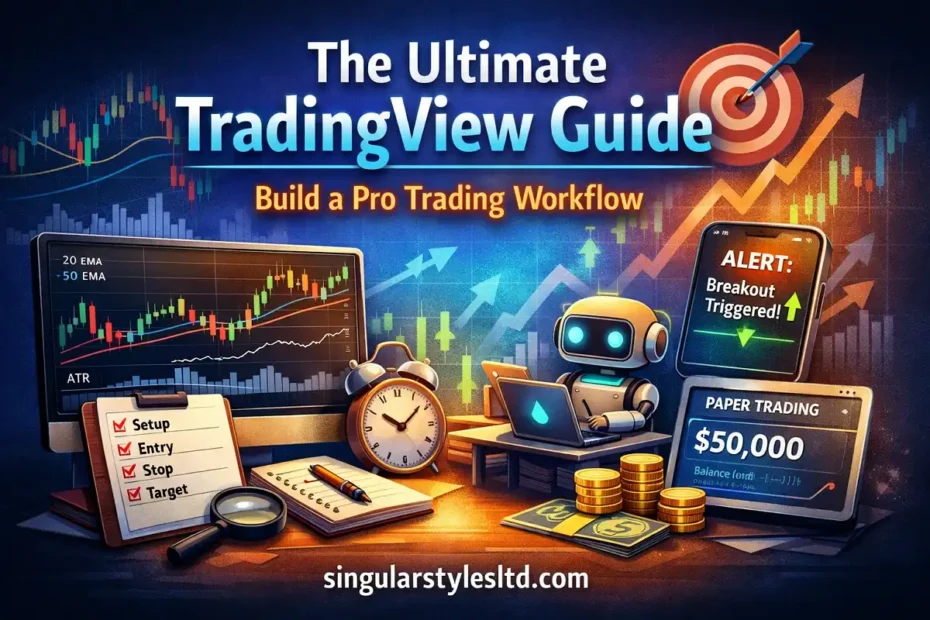
What Is TradingView?
TradingView is a cloud-based charting and trading platform used for analyzing financial markets, including stocks, forex, crypto, futures, and more.
Core capabilities include:
-
Advanced charting
-
Watchlists
-
Alerts (price + indicator + drawing-based)
-
Multi-chart layouts
-
Paper trading
-
Brokerage integrations
-
Pine Script (custom indicators & strategies)
-
Community-published scripts
But features alone don’t create results. Structure does.
Step 1: Set Up TradingView Like a Professional
1. Create Three Watchlists (Your Mission Control)
Watchlists are your command center. Instead of randomly searching charts, you’ll operate from structure.
Create these three:
1) Core
10–30 instruments you actively trade.
2) Candidates
Instruments that are near potential setups.
3) Event/Risk
High-volatility names (earnings, macro catalysts, major news).
Rule: If it’s not on a watchlist, it doesn’t exist.
This prevents impulsive “chart hopping.”
2. Build Two Layouts: Scan & Execute
Layouts store:
-
Charts
-
Drawings
-
Indicators
-
Chart configuration
Important: Watchlists and alerts are not stored in layouts. Layouts are visual workspaces.
Create:
A. Scan Layout
4–8 charts in one tab.
Purpose: fast overview and comparison.
B. Execute Layout
Single clean chart.
Purpose: decision-making without distraction.
Why two layouts?
-
Scanning requires breadth.
-
Execution requires clarity.
Step 2: Build a Clean, High-Performance Chart Template
Most traders overcomplicate charts. Simplicity improves decision quality.
Here’s a balanced default structure.
1. Price + Structure
-
Candlestick chart
-
Key levels (previous highs/lows, support/resistance)
-
Optional session separators (intraday traders)
2. Trend + Mean
-
20 EMA (short-term tempo)
-
50 EMA (intermediate trend)
-
Optional: VWAP (intraday)
3. Volatility + Risk Framing
-
ATR (Average True Range)
ATR helps standardize stop placement and position sizing.
4. Volume Context
-
Basic volume bars
-
Optional: Volume Profile (plan-dependent feature)
Why this works:
-
One trend tool
-
One volatility tool
-
Structural levels
-
Volume context
No indicator clutter. No signal conflicts.
Step 3: The Repeatable Trading Workflow
This is the core of everything.
Scan → Qualify → Plan
Step 1: Scan (5–15 Minutes)
Goal: Find conditions, not trades.
Ask:
-
Is this trending or ranging?
-
Is volatility expanding or contracting?
-
Is today a catalyst day?
-
Is the price near a key level?
You are filtering for opportunity zones.
Step 2: Qualify (2–3 Minutes Per Symbol)
Ask six structured questions:
-
What is the higher timeframe bias?
-
Where is the price relative to major levels?
-
What setup type is present?
-
Breakout
-
Pullback
-
Mean reversion
-
Range fade
-
-
Where is invalidation?
-
Where is the first logical target?
-
Is reward ≥ 2R?
If you cannot answer quickly, skip it.
Step 3: Plan (Write Before You Trade)
Before entering:
-
Setup:
-
Entry trigger:
-
Stop:
-
Target(s):
-
Risk:
-
“No trade if…” condition:
Writing the plan prevents emotional trades.
Step 4: Alerts That Reduce Screen Time
Most traders misuse alerts as noise generators.
TradingView supports:
-
Price alerts
-
Indicator alerts
-
Strategy alerts
-
Drawing-based alerts
-
Trigger frequency options (once, every time, per bar close, etc.)
Use alerts as workflow gates.
The 3-Alert System
For each candidate:
1. Proximity Alert
“Price near level.”
Just a heads-up.
2. Trigger Alert
“Break and close above level.”
Prefer once-per-bar-close to avoid fakeouts.
3. Failure Alert
“In case of invalidation.”
Protects you from attachment bias.
Pro Tip: Use Drawing-Based Alerts
You can create alerts directly from:
-
Trendlines
-
Horizontal levels
-
Drawings
Keyboard shortcut:
-
Alt + A (Windows)
-
Option + A (Mac)
This is underused and extremely powerful.
Step 5: Paper Trading the Right Way
TradingView includes a paper trading system for simulation.
But most people use it incorrectly.
They simulate trades.
They don’t simulate discipline.
The 2-Week Paper Trading Protocol
Rules
-
Trade only 1–2 setup types.
-
Fixed risk per trade (e.g., 1R).
-
Max trades per day.
-
Screenshot before and after.
Metrics to Track
-
Win rate
-
Average win (R)
-
Average loss (R)
-
Expectancy
Formula:
(Win% × AvgWin) − (Loss% × AvgLoss) -
Biggest mistake category
If your process is not profitable on paper over a meaningful sample size, it will not improve with real capital.
Step 6: Choosing the Right TradingView Plan
TradingView offers multiple plans that differ in:
-
Number of charts per layout
-
Indicators per chart
-
Alerts allowed
-
Historical bars
-
Intraday resolution access (seconds/ticks)
-
Volume profile access
Here’s how to decide.
Use Free If:
-
You’re learning
-
You use one chart
-
You use a few indicators
-
You don’t rely heavily on alerts
Upgrade If:
-
You need multi-chart layouts
-
You need more indicators per chart
-
You rely heavily on alerts
-
You backtest and need more historical data
-
You require seconds/tick charts (intraday traders)
Most traders:
-
Underestimate alert limits
-
Overestimate how many features they actually use
Buy for your workflow, not marketing features.
Step 7: Pine Script (Minimal, Practical Approach)
TradingView includes its own scripting language called Pine Script.
Use it only for:
-
Modifying open-source indicators
-
Creating custom alert logic
-
Backtesting a specific setup
Do not learn Pine just to “feel advanced.”
1-Hour Pine Starter Exercise
-
Open Pine Editor
-
Load a basic moving average crossover script
-
Add:
-
Higher timeframe filter
-
Custom alerts
-
-
Save and add to the chart
Goal: Improve your workflow, not build complexity.
Step 8: Your 60-Minute Implementation Checklist
Today
-
Create 3 watchlists (Core / Candidates / Event-Risk)
-
Build 2 layouts (Scan / Execute)
-
Save clean Execute template
-
Add 5–20 candidates
-
Set 3-alert system for 3 symbols
This Week
-
Run a 2-week paper trading protocol
-
Journal 20 trades with screenshots
-
Identify recurring mistakes
-
Rewrite “No trade if…” rules
Common TradingView Mistakes (And Fixes)
1. Indicator Overload
Fix: One trend tool + one volatility tool + structure.
2. Alert Spam
Fix: Proximity → Trigger → Failure structure.
3. Layout Chaos
Fix: Separate Scan and Execute layouts.
4. Paper Trading Without Metrics
Fix: Track expectancy, not feelings.
The Real Edge Is Structure
TradingView is not your edge.
Your:
-
Process
-
Risk model
-
Setup clarity
-
Emotional control
…are your edge.
TradingView simply gives you the tools.
If you:
-
Organize watchlists,
-
Build structured layouts,
-
Use disciplined alerts,
-
Track paper trading metrics,
-
Journal consistently,
…you will outperform 90% of users who treat the platform like a toy.